Saturday, November 23, 2013

December Memories 2013

It's the most wonderful time of the year!

December Daily (DD) 2013!  If you are unfamiliar with the concept of December Daily then visit Ali Edwards Blog 
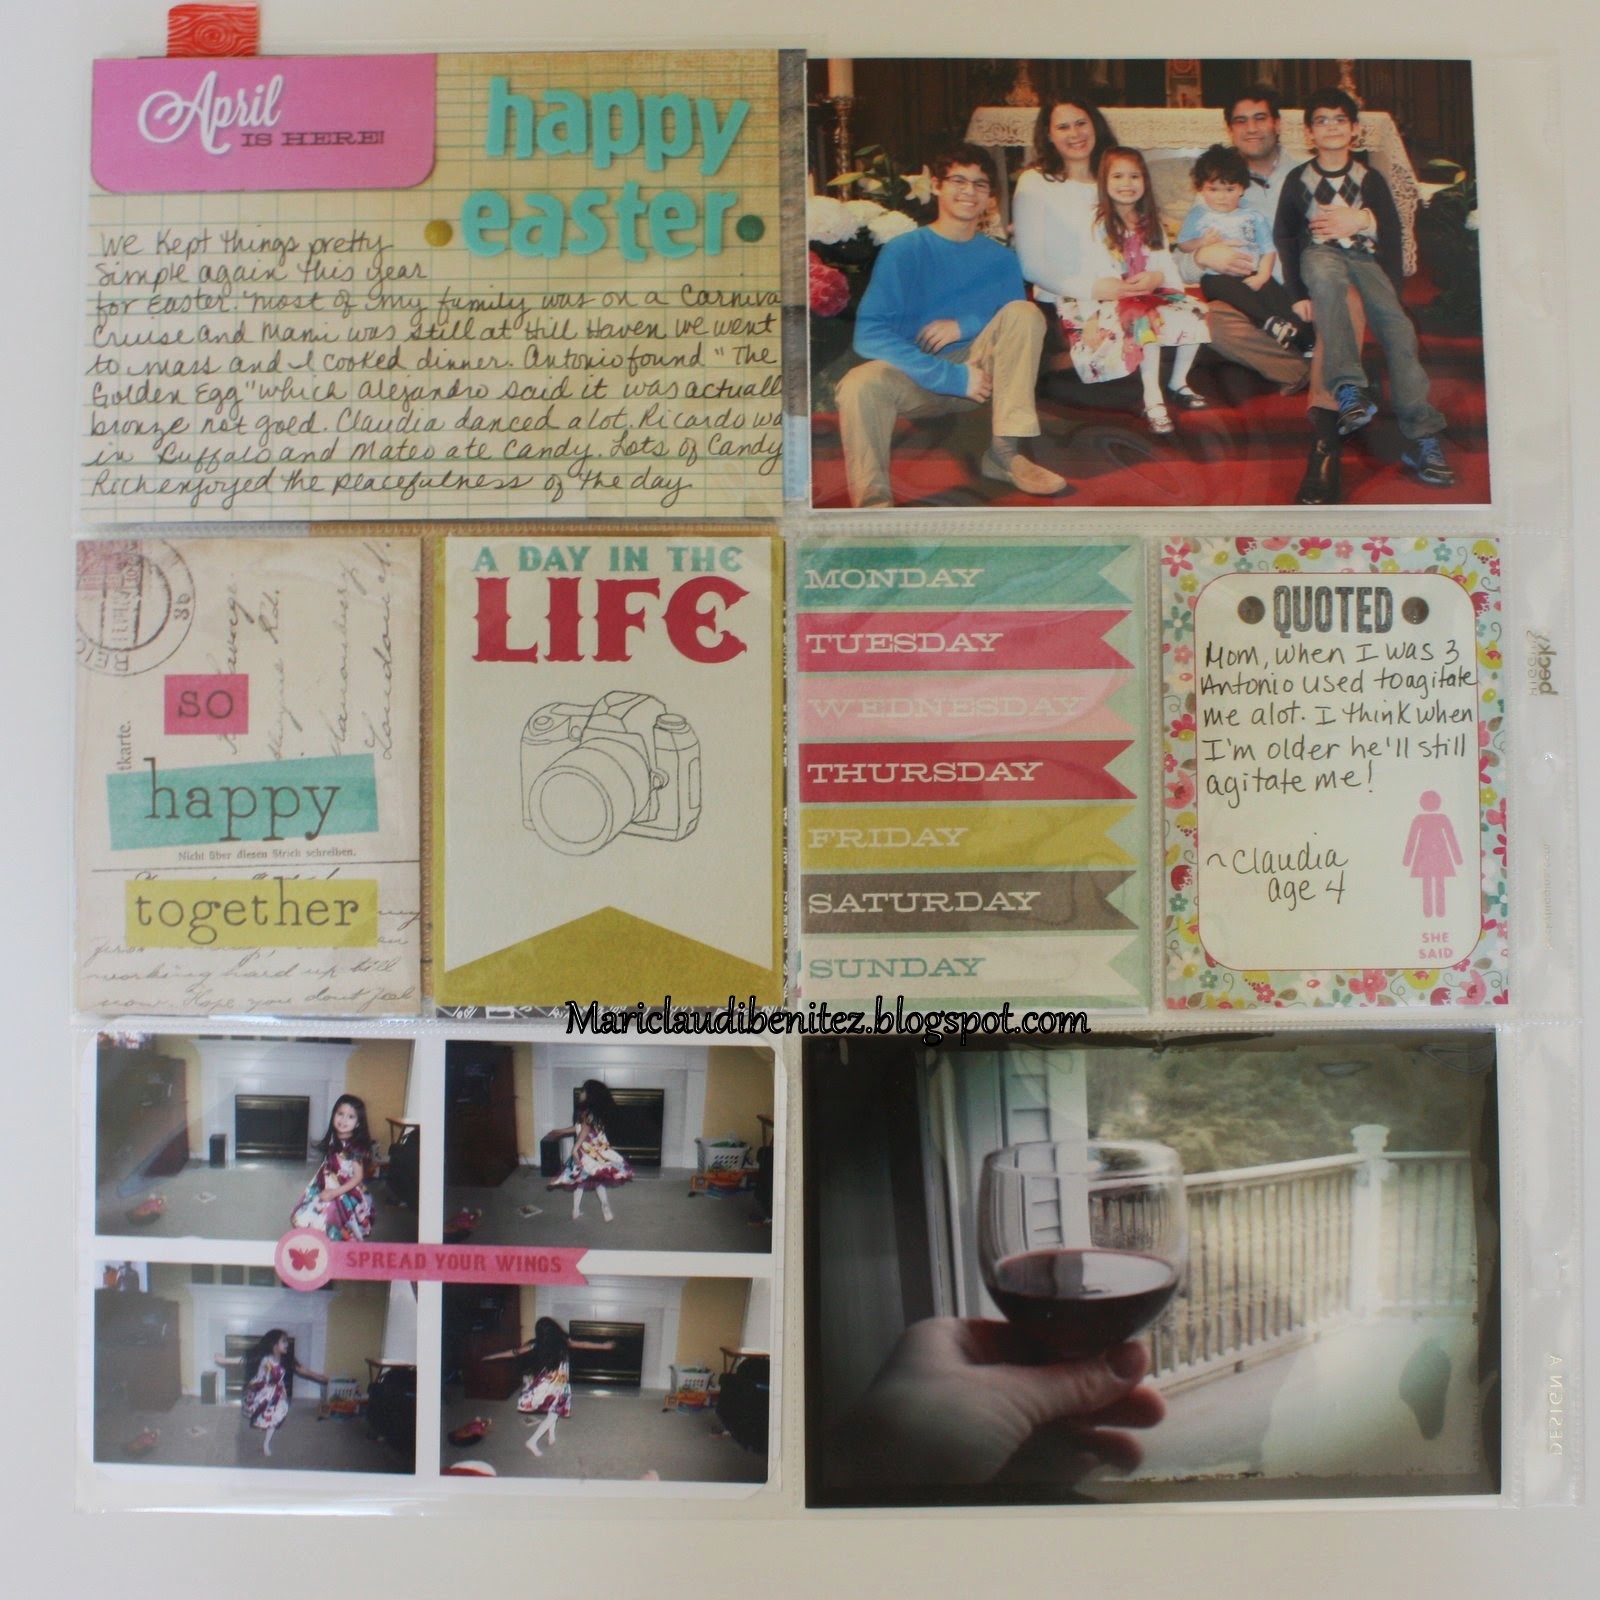
      This year I will be working with the December Memories kit from Gossamer Blue. Unfortunately the kit is sold out.  It is so LOVELY and PACKED with Christmas goodies. The kit  includes enough product for the mini album and for Project Life pages.  I took some time to set my kit up and reserve a spot for it on my desk.  I sorted the embellishments and put them in small baggies.  I also set up the page protectors in the album. I sorted through my stash and added a few more things like alphas and another stamp set. But other than that I haven't done much else. Many scrappers work on the cover and on the base pages. I'm not! I usually leave the cover for last.  And the year I created base pages I ended up NOT using most of the pages.  I hope to use some of the digital files that came with the kit. I have spent some time learning some PSE basics and hope to use those newly learned skills this December. I will continue to work on PL and have no problems with duplicate pictures in both albums because the DD album gets packed away with the Christmas Decor while the PL album stays out all year long.  


Last year I used the Studio Calico DD kit.  It included an adorable 4x6 Linen album. I  got the idea for the tree from another scrapper (but can't remember from who...sorry) 

This is one of my favorite projects.  Not only do I love the Christmas season but the mini album is one of the projects that I actually start and finish.  I started back in 2010.  My first album was 8x8, 2011 was 8.5x11 (that one is HUGE) and 2012 was 4x6.  This will be my first time working with a 6x8 handbook.  I think it is a good size for the project.  
I won't promise to share my pages on the blog because let's face it I haven't kept up with regular posts and it is unlikely that I could post regularly during the Christmas Season. We shall see!
I would like to take the time to thank those of you who do post your pages regularly because it helps keep me inspired throughout the season.  If you are interested in getting some inspiration for your album check out Ali Edwards' blog and Flickr. Many talented scrappers share their pages there.  
I would like to see what you have created so far...
Thanks for stopping by!
Marisol

Saturday, September 21, 2013

Project Life 2013 Week 34

Week 34

Time at the lake with my dad and my sister, Mom's birthday, superhero fun and ordinary days made up Week 34. 

Yes I know I skipped a bunch of weeks but I just couldn't wait to share Week 34.  I used the September Life Pages by Gossamer Blue.  The kit was awesome and I killed it! I had no mercy!  I just loved the color combo and how well everything coordinated.  I did include an alpha or two from my stash as well as some enamel dots.
The kit includes a printables file and a .cut file for the silhouette.  Because my printer pretty much hates any paper thicker than printer paper I printed on vellum instead.  It worked well with the darker colors.  I also printed the .cut file on vellum. Sorry no photo!

We spent the day at Canandaigua Lake.  It was our first time at the lake and as you can see we really enjoyed it. The enamel dots are from Freckled Fawn and were not in the kit.  My circle punch is broken and I cut the 'this was awesome' circle by hand. I need to improve my cutting skills! 
Funny story: My son likes to run around the house with a blanket for a cape calling himself a superhero.  After I put the cape on he insisted on wearing the boots, when I asked him why he needed them he said 'Superhero's wear boots!'  It is generally difficult to understand what he says but he said that very clearly for me to understand!  The 'Just an extraordinary' is one of the printables on vellum.  One of my kids took the bottom right picture. It is dark and blurry and I LOVE IT because it captured an everyday moment that I would have otherwise missed.

TIP: Buy a Gossamer Blue LP kit because it is FABULOUS! I'm looking forward to next months kit as well as the December Daily kit.
Today I'm linked up with Jessica at The Mom Creative

Sunday, September 15, 2013

Project Life 2013 Week 22

Week 22

Memorial Day festivities and underwater fun! 

It was one of those weeks where I documented only 2 events.  It seems like a pattern lately and I like it! Documenting this way helps reduce frustration that comes with having too many pictures and deciding which ones to include.  Our 'daily' life has been very routine for the past few weeks and I am not feeling the need to document everything (those moments are already documented in past weeks and there will be future opportunities to document the daily happenings).  I am enjoying highlighting the bigger events with more than just one or two pictures.  That is just what I did this week.


Week 22 two page spread

As you know my son is a member of the Civil Air Patrol (CAP) and on Memorial Day his Squadron marched in the parade.  We were a very proud family that day.   I kept this spread simple.  Can you spot the photo bomb?  My boys are ALWAYS doing that...At first I was getting upset then I just accepted it.   I used my very first Scraptastic kit on this spread. I tried an ombre effect with markers on the words RIB FEST as well as on the "Places we go" card.
 Aren't these pictures cool?!  They were taken underwater with my brother in laws camera.  After using it I was so tempted to buy one. But I resisted because the truth of the matter is that I am NOT underwater very frequently. HA. I cut a 4x6 Studio Calico card in half to fit across two 3x4 pockets.  I like that effect.  Again very simple with big impact.
IDEA: Use a 4x6 card across two 3x4 pockets for an eye pleasing effect. Keep in mind that after cutting it in half you may have to trim the card again to fit in the 3x4 pocket. If you need to do this don't trim the middle part of the card because it will make the design awkward,  trim the outer edge instead...yes I speak from experience.

How are you coming along with your Project Life Album?
I have printed all my pictures except those from this past week and the pictures are in the pockets ready to be embellished.  I am determined to get'caught up'! I want to start my kids school albums.  Currently, I am working with the September Life Pages kit from Gossamer Blue...I really like it!  
Thanks for stopping by.
Marisol
Posted by Picasa

Saturday, September 7, 2013

Gossamer Blue Life Pages Kit

I got this in the mail today!
By Gossamer Blue. And let me tell you that the kit is so AMAZING!  ALL of the cards have a horizontal and vertical orientation!  I love that!  The kit is packed with goodies and includes printables and cut files.  I printed them on vellum and am so impressed with the results.  The colors in the kit are so well coordinated and are very trendy.  Pink and Aqua...what's there not to love!  The stamp set is perfect for embellishing pre-made cards AND for creating custom cards.  So glad I subscribed!  
Thanks for stopping by!
Marisol

Project Life 2013 Week 21

Project Life 2013 Week 21

A camping house, hot weather, reading, and a birthday!


I love the randomness of this weeks left side.  I LOVE using alphabet stickers on my project but I didn't have the right letter stickers to create my daughter's quote and so I turned to my alphabet stamps! I  recently purchased  Lawn Fawn Claire's alphabet stamp set and used  it in the speech bubble to quote my daughter. I love all of Lawn Fawn's alphabet sets because the actual stamp is cut into a rectangle and all the letters line up perfectly with each other giving you the perfect amount of space in between each letter!  AND the newer sets include more than one stamp for the most popular letters in the alphabet.  This allows for creating an entire word with multiple letters and/or vowels.  I'm slowly purchasing all the sets.  I currently have 3.  They are the perfect size for pocket pages. I'm not sure why more companies haven't created similar alphabet stamps!


My son turned 9 this week and I devoted the right side of the spread to his party.  I didn't have any birthday related cards in any of my kits and so I turned to my stash! I used an OLD DCVW birthday paper pad to create the cards on this page.  I handed the pen over to him and let him fill in the prompts.  I love that he agreed and now I have his handwriting in the album.

IDEA: Turn to your stash!  Create your own journal cards when you don't have premade cards to match your story. Use alphabet stamps when you don't have the right letter stickers for your project.

Thanks for stopping by!
Marisol
Posted by Picasa

Saturday, August 31, 2013

Project Life 2013 Week 20

Week 20

Mother's day and more backyard fun! 


We celebrated at home with Chinese food, wine and  margaritas! I did not take many pictures and that gave me the chance to add in some filler cards.  Most of these cards are from a SC kit.

Getting outside in the spring is kind of a big deal around here because we spend so many months indoors during the winter.  There was tree climbing, swinging, and slide jumping for Team Benitez on Saturday.
 I used a few 2x3 pictures and I am still not in love with the size but do think they look better in the 3x4 pockets than in a 4x6 pocket.  The 2x2 pictures seem to get lost in the bigger pockets. Yes I know I used 3 of the frames on one page!  I love them! HA. 

 
Posted by Picasa
IDEA: Take the opportunity to focus on two events in one spread or one event on a two page spread.  This weeks left side was all pictures from Mother's day and the right side was all pictures from Saturday.

Thanks for stopping by!
Marisol

Wednesday, August 28, 2013

Project Life 2013 Week 18

Week 18

Still haven't found pics of week 16....
More outdoor play, some spring cleaning, tree planting, a beautiful blooming rhododendron, crabby patties and an allergy scare.
My new favorite thing to do is using letter stickers directly on the photos. I had been using labels but got tired of it.  These BasicGrey letter stickers are the perfect size for this project and I want a set in EVERY color. White is my favorite because it seems to pop off the picture.   


Left Side: My hubby planted a tree and was so proud of himself!  The 'grow where you are planted card' is perfect for the story. He also attempted to clean the garage and didn't get very far...it is a mess!  The pictures in this spread are dark and once fall and winter hit I foresee more dark indoor photos.  I may need a new lens for indoor pictures but they are so darn expensive!  Any recommendations?


Right side:  I love my daughter's pose in front of the bush!  She is so cheeky! My son woke up one morning with a swollen face! It was so scary because we thought maybe he developed the same milk protein allergy as our daughter. I am happy to report that the results came back negative but we also don't have an answer as to why his face was so swollen.  I love adding quotes from my children.  They make great filler cards.  


I  repeated certain elements on both pages as a way of unifying them. 
*orange plastic letters
*letter stickers 
*triangle paper
*the orange patterned paper
*green and orange colors as well as touches of brown

TIP: Balancing  elements (colors and/or embellishments) on both pages helps unify pictures that would otherwise clash with each other.  


Thanks for stopping by!
Marisol

Tuesday, August 27, 2013

Project Life 2013 Week 17

Project Life 2013 Week 17

Where is week 16 you ask...well I don't know.  I have to check back and see why I didn't photograph it. But I found week 17!

A new TV, mom and daughter playtime, happy crafty mail, ice cream and outside play filled week 17.


My hubby and boys are soooo happy with the new 3D TV.  I set the self timer on my camera to take the picture of my daughter and I.  The black My Fave heart is cut out from a SC 3x4 card.  I wrote the word my with my favorite white pen. I won a giveaway on a blog and got my monthly kit all in one day! I attended  a staff recognition dinner for the day care staff. I was able to take a picture of all the ladies who have cared for my daughter since the age of 1 year.  I wrote their names on the back of the photo and made a note in the journaling that their names are on the back of the photo.  I wrote Best Teachers Ever directly on the photo and added the 2 wood veneer hearts.  It looks like it was really on the projector screen. 

The right side pictures are all from Saturday.  The weather was so nice and we spent the day outside.  I added sequin to the sun card after I stamped the Hello sunshine phrase.  I also stamped the word Hi in the middle of the sun.  I tried to create a rainbowe effect on the wood veneer alphas and it did NOT work. FAIL! But I used them anyway. 
TIP: I often print my pictures in the 4x6 size and mostly take them in the landscape orientation.  This can be problematic when I  have vertical pockets.  To resolve this I simply trim off a couple off a couple of inches to make the photo 4x4 and slap it on a 4x6 piece of patterned paper or a 4x6 card.  Over the years I have learned to compose my pictures so that trimming them would not change the effect or mood of the photo. This is a fancy way of saying I tend not to zoom in when taking pictures. HA. This technique is also helpful when cropping a 4x6 horizontal pic into a vertical picture. This also saves with printing cost because there is no additional cost such as when printing a custom sized picture just the cost of printing a standard sized picture.  
How are you coming along with your PL? I'm ALMOST caught up and it feels good!

Today I'm linked with The Mom Creative

Thanks for stopping by!
Marisol

Friday, August 23, 2013

Project Life Week 15

Project Life 2013- Week 15

A Sunday trip to the park, a week full of daycare activities and a birthday party completed our week.  

Week 15
This week includes an insert because it was my son's 2nd birthday.  His birthday was so much fun.  We played pin the banana on Curious George (even the grown-ups played...actually they had more fun than the kids) and had an Ice Cream Sundae buffet. Both activities were a HUGE hit!
I cut off part of Design F and added a flagged paperclip to help identify the insert. However, the clip keeps falling off!  Now I have to find another way to add a tab or something to help identify the insert. Any ideas?

The weather was so nice that we took a quick trip to a local park.  Nothing fancy about this page other than the fact that I adhered the LIVE flair badge on the outside of the protector. And now that I think about it that is not fancy either. HA. I added the title directly onto the white space of the picture of the tree. I often purposely take pictures with white space so that I can embellish or journal the area. I also embellished the pre-made 3x4 cards with stamps. 

First let me apologize for the horrible picture!  Not lots of journaling on this spread.  The top left pocket holds a picture of a quilt square my daughter and I made for the daycare quilt.  As you can see we used lots of scrapbooking goodies to create the quilt square.  I embellished a SC card with stamps and letter stickers.

A handmade 4x6 journaling card, a filler card and a confetti pocket complete this page.  I didn't add anything else because the pictures themselves are 'busy' and tell the story on their own.  

The back of the insert...such a horrible picture! Stupid glare!  I wanted to use the color orange and didn't have a premade journaling card in that color so I  created another handmade journaling card.  I used a really old stamp and slapped a label on top and called it done!

I let the pictures tell the story this week and used very little fluff.  I tend to do this when I have tons of pictures from an event such as a birthday.  I'm sure many other things happened this week and they went undocumented. I'm OK with that. This is my 3rd year documenting our life PL style and I no longer have the need to document every little detail every week.  

TIP:   Let your pictures do the talking.  When you have lots of 'busy' pictures tell the story on one or two journaling cards and let the pictures tell the rest of the story without any added embellishments or labels. 

Thanks for stopping by!
Marisol


Posted by Picasa

Monday, August 19, 2013

Project Life Week 14


Week 14
I (mostly) used the Citrus Twist April kit for this week's spread.


Easter was spent at church and at home.  I cooked and the day was quiet...just how we like it.  It was our first Easter without our oldest son who was at school.  It was a bittersweet day.

See that picture of the wine glass?  Isn't it cool! I have what I call a 'dumb phone'-prepaid, no internet access, and NO CAMERA! Which means I don't have access to all the fancy photo apps. So when these cool photo overlays came out on the market I was thrilled!  They have the same effect on the photo as the fancy photo apps available on smartphones but without the HUGE monthly phone bill! HA.


Week 14 was part of  our Spring Break. Our friends came to visit and I cooked for 20 people!  My son and our friends kids are members of the Civil Air Patrol.  Aren't they handsome in their uniforms? I used another photo overlay on the picture of me.  The picture with the 'LAUGH" sticker on is of the kids playing Just Dance game on the Xbox.  I highly recommend this game for getting the kids off the couch and for burning some calories!

TIP:  Don't be afraid to cut up the PL cards!  The 'You make me so happy' speech bubble was part of a 3x4 card.  I cut it out and layered it over another 3x4 card  and layered that on a 4x6 card. I did the same for the top left pocket. 

I am still plugging away at my spreads.  I have up to week 26 completed! Right now I'm working on inserting the pictures in the pockets.  I'm almost done with that!  My goal is to finish the spreads before I go back to work on Sept 4th! 

I haven't decided if I will blog past weeks or not.  What do you think?  Should I just move forward?
Are you up to date with your PL?  How are you keeping up or catching up?
Thanks for stopping by.
Marisol
Today I'm linked with The Mom Creative

Posted by Picasa

Monday, July 29, 2013

Scrap Space Reorganization

New monthly kit organization

I discovered a Dollar Tree while I was out shopping for decorations for my daughter's 5th birthday (More on that another day) and while strolling around the aisles I discovered a couple of things that triggered a whole revamp of my scrap space!  I'm not done yet but I've made enough process that I can actually scrap!  
For months now I have felt like my set up was not efficient and therefore holding back my creativity.  My monthly kits were piled up everywhere!  It was taking me forever to find what I needed!  And then my mojo left me!  While he was gone I really examined HOW I was scrapping and what was and wasn't working. And so my search for a new set up began!

It all started with this tray and these 4 bowls.

Aren't they beautiful!?! The bowls are VERY lightweight and shallow making them perfect for small embellishments. They stack very easily as well. The tray holds all the bits and pieces from a monthly kit.  

 I went to Michael's to see if they had any PL products and I stumbled upon this!

I love that there are two shelves.  I keep my "in progress" PL pages on the top along with a Martha Stewart desktop organizer full of embellishments that are begging to be used.  The organizer used to hold my most used stamps and monthly PL kit. I found another place for those.


As you can see my 5 year old daughter has claimed the bottom shelf for her belongings. She tried to claim a couple of drawers too!  She is too funny because she is not satisfied with my left over supplies anymore.

A shallow drawer can hold the entire contents of a Citrus Twist main and PL kit.  

As soon as I get a kit in the mail I put it in a drawer. When I want to work with a kit I pull the drawer out, sort the embellishments into the tray and bowls and put the paper in a tray on my desk. When I feel like I have 'killed' a kit I sort the remains into my stash.

Citrus Twist Sail Away July Kit ready and waiting to be played with!


Tray dividers for EACH of the shallow drawers are included with the cart.
I am using one divided drawer for my washi tape and date stamps.  As you can see there is room to grow. HA!

The second drawer holds  my flat alphas.

I haven't decided how to use the 3 deeper drawers. Right now my small stash of 6x6 papers  and wood veneers are in there.

The rest of the drawers hold my monthly kits. And the last deep drawer is empty.

I bought 2 sets of the plastic bowls.  Four bowls for a dollar!  Right now they hold recently purchased embellishments that I want to use.

This led me to sort my embellishments by color and create 'color drawers' (I got this idea from ScrappyJedi)
Then that led me to sort my cardstock and patterned paper by color!  The that led me to (well you get the picture).
How do you store your monthly kits?
Thanks for stopping by!
Marisol


Monday, July 22, 2013

DIY Labels

Labels, Labels, Labels!

I love labels. I love using them on layouts, cards and of course PL spreads!  I have received lovely labels in my kits from Studio Calico and Citrus Twist.  October Afternoon has lovely labels, but they are VERY pricey. Printable labels can now be found everywhere throughout the internet stores as well!   My printer does not like paper other than regular 'ole printer paper.  I have tried MANY MANY MANY MANY times to figure out the right settings on  my printer to be able to print on card stock. EPIC FAIL! 
Not to mention that the cardstock I used soaked up lots of ink and the colors look faded.  I have not tried printing the labels on photo paper...I have read that it looks very nice!  

Therefore, printing downloadable labels is a NO GO!  I love that Citrus Twist is now including a small sheet of labels in colors that coordinate with the  monthly PL kit. Cool right?!


Before I started receiving labels in the CT PL kit I came up with a way to create them on my own with stamps!  My search for the perfect stamp set lasted months!  Then I found it!  The Labels Basic Stamp Set by PaperTrey Ink !  It was an expensive set but well worth the money.  PaperTrey Ink has a coordinating steel die set but I didn't purchase it.  I think the labels are easy enough to cut out by hand!

I first heard of the stamp set in a post by Nichol Magouirk where she mentioned using the stamp set to create a custom colored label for her layout.    Once I received the stamp set I was pumped!  I used a  sheet of 8.5x11 Neehah Solar card stock for each ink color and used several shapes per sheet.  I cut the labels out and put them in baggies according to color.  


I left some labels blank and stamp a sentiment on others.  I love the final product and that I can customize a label at anytime WITHOUT using my printer.  I stamped some sentiments off center because I like to have the labels over the edge of my paper.  


Many of my stamp sets fit perfectly in the labels such as sets from Ali Edwards, Studio Calico, Citrus Twist, Etc.  Roller date stamps are also a perfect fit.


The 'date' stamp is from a very old Ali Edwards set


An example of how I used my DIY labels.
Go raid your stash and find stamps you can use to make your own custom labels!  If you make any be sure to link up here, I would love to see what you create!


Thanks for stopping by!
Marisol